
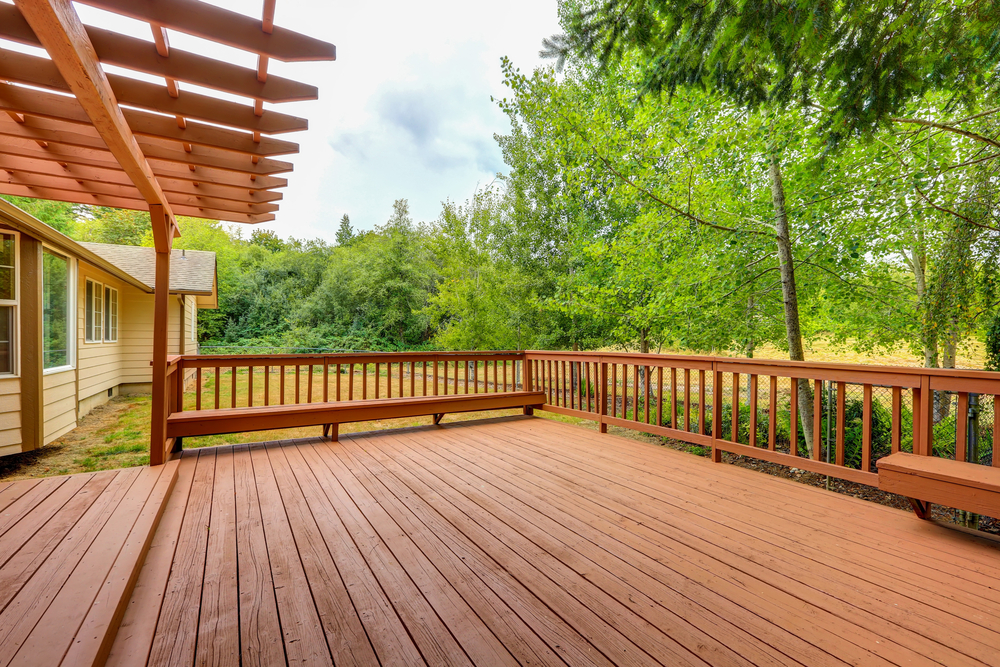
A deck is an important part of any home, follow this guide to extending a deck to help add space and value to your house. Most people are quick to say that they need more space. Whether you are having a party or simply grilling out for dinner, a small deck can be a hassle. If you ever thought a guide to extending a deck would be complicated and confusing, you were wrong. Follow this simple guide to extending a deck and you’ll add living space to your home in no time.
Reasons to Extent a Deck
Do you really need a reason to start extending your deck? Of course not, but you may have to give one if someone asks. A deck extension will add value to your home and impress your friends!
Types of Materials
You will want to match the material of your deck extension to your existing deck. Decks can be made from pressure treated lumber, redwood, cedar, and plastic, wood composites such as Trex. If you don’t know what material you have, it’s best to unscrew a piece and bring it into the hardware store with you. Natural wood decks won’t last nearly as long as pressure treated lumber. But pressure treated lumber will eventually start to look weathered and require annual maintenance. Composites will last forever, but don’t look at natural and are susceptible to dings and damage.
Extending the Sub-Frame
This guide to extending a deck is simple to follow because it relies on extending the sub-frame of the deck. See the section below for the definition of a sub-frame. First remove the short boards that extend to the edge of your deck. This will expose the sub-frame.
Next, you’ll need to place additional deck posts. You’ll need to dig a hole for the posts. You should measure the space between existing posts and space the new posts out accordingly. It is also imperative that use a packer to pack the soil at the bottom of the hole or your deck could sag later on. Install the post properly and fill the hole with gravel for support.
Then, attach the sub-frame extension to the posts to extend the frame. After that, the girders can be placed inside the new extended sub-frame. Finally, you simply install the new boards on top of the girders. The portion of your extended deck should essentially mirror the structure of the existing deck.
Terms to Know
If you plan on following this guide to extending a deck, you’ll need to know these terms before you head to the store.
Ledger: No, it’s not an accounting document. A ledger is the long board that attaches your deck to the side of the house. This is important if you are using this guide to extend a deck to extend your deck along your house.
Posts: The posts are square pieces of wood that extend deep into the ground and are usually set in cement. The hole is then filled with gravel for support. These posts should be evenly spaced out and are what holds up the sub-frame. Installing posts is the hardest part of the deck extension process and must be done correctly.
Sub-Frame: The sub-frame is the outside frame of the deck that rests on the posts. The sub-frame holds most of the weight of the deck and transfers it to the posts. The girders are placed within the sub-frame.
Girders: Girders are beams that lie horizontally within the sub-frame and create the surface under the deck. The actual deck planks are screwed into the girders.
Conclusion
This is a basic guide to extending a deck. With this information, you should be able to understand how extending a deck works. Deck extension costs vary depending on the material used, but the process is much cheaper if you are able to do it yourself. When you arrive at your local hardware store, the employees will be able to help you find every screw and joint needed for your deck extension. They’ll surely be impressed with the knowledge you gained from this guide to extending a deck.